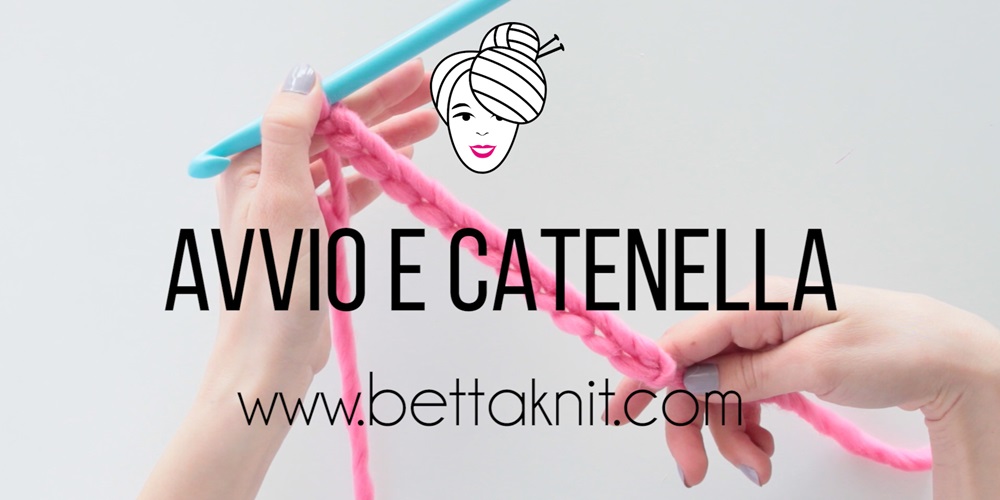
Crochet tutorial – Slip Knot and Chain Stitch
Hello everyone! It’s me again, Maria Elisa from Needles and Skeins! I’m staying again in BettaKnit’s blog, not to illustrate a pattern as in the last post, but for a short crochet lesson. I’ll be back other times to explain some basic stitches and give some advice to those who want to learn this technique. In this first post we will learn how to make the Slip Knot to start a crochet work and how to do the Chain Stitch.
Have you already seen BettaKnit channel on YouTube?
If you haven’t seen it yet, go and take a look! There are many video tutorials about basic crochet stitches (and knitting stitches!), They are all very clear and well-made, like the one below.
The Slip Knot is the beginning of each crochet project. The Chain Stitch is the simplest of crochet stitches and It’s the basis of most crochet linear work. It may be useful to realize almost everything, from scarves to baskets…that’s why it’s important to learn this basic stitch very well!
Slip Knot and Chain Stitch step-by-step:
- Form a circle with the yarn, folding it or rolling it around your fingers. Pull the free end through the circle, catching it from the center and pulling it upwards, forming a loop. You have made the Slip Knot!
-
Start working the stitches with your hook in your right hand, and your Slip Knot in your left. Roll the yarn connected to the skein around the little finger of your left hand, pass it under middle and ring fingers and place it on top of index finger.
- Insert your hook in the loop and pull the free end of the yarn, to regulate width and tension: the yarn should be wrapped around the shaft of your hook (not the throat!), not too tightly.
- Move the hook under, then over the yarn.
- There are now both the first loop and the yarn on your hook: scoop up the yarn with the groove of your hook, and pull it through the first loop. You have now crocheted your first chain!
- To continue working chain stitches repeat steps 2 to 5.
- Continue working until you get the number of chains you need, depending on the project you are making.
Now that you know the technique, take hook and yarn and run to practice! It takes a little exercise to capture the movements and learn how to work with the correct tension.
Some trick to work well the chain stitch?
First of all, you have to regulate well the yarn tension: beginners usually tend to overstretch the yarn and find themselves with narrow chains, where it’s hard even to let the hook in. On the other hand it’s not good to end up with a too weak cord! To avoid this you need to practice a lot…the only advice I can give you is to bring the loops on the shaft of your hook and not on the throat, otherwise you will tend to “strangle” the stitch.
It’s also very important to realize chains that are all the same, with the same width and tension. Arrange well the thread in your left hand and check the width of each loop. With the exercise you will find the method that suits you the best and after a while you’ll be natural, trust me!
See you at the next post, with video and step-by-step tutorial to learn how to work the Slip Stitch!

